Palm Trees in Planter Troughs: The Drainage Setup That Prevents Root Rot
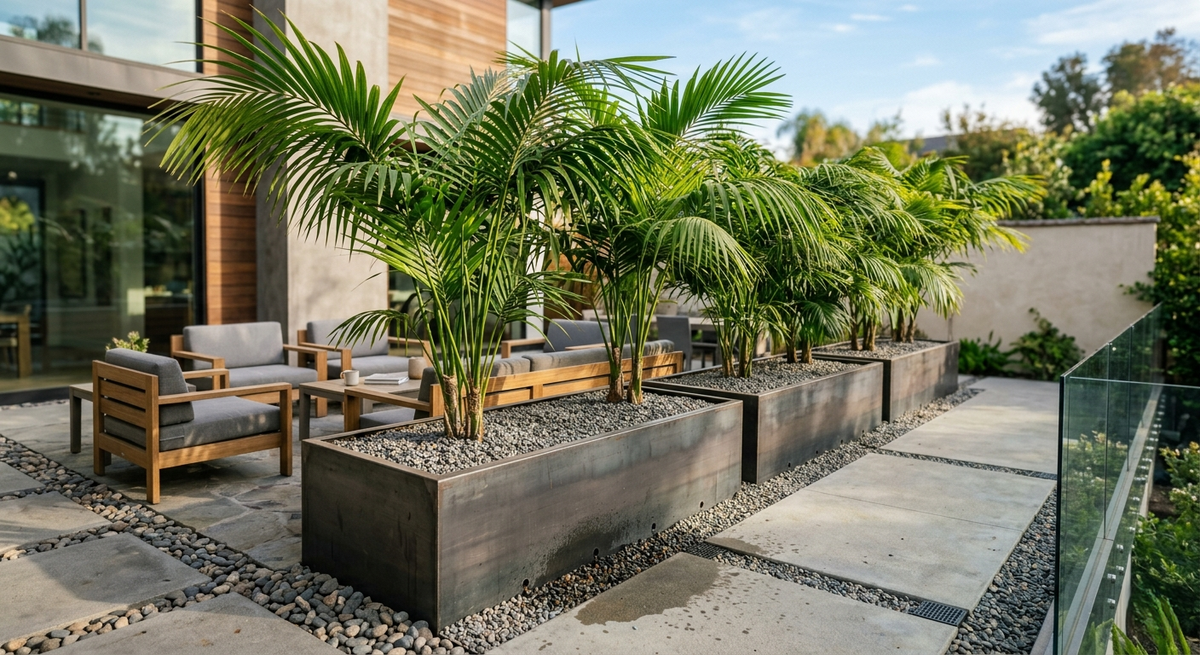
Palm trees add instant height, texture, and tropical beauty to patios, balconies, courtyards, rooftops, pool areas, and commercial landscapes. When planted in long planter troughs, they can create a living screen, soften hard edges, or frame an outdoor space with architectural elegance. But while palms often look effortless, their success in containers depends heavily on one thing: drainage.
Poor drainage is one of the fastest ways to damage container-grown palms. When water sits too long around the roots, oxygen levels drop, roots weaken, and rot can begin. The result is yellowing fronds, slow growth, foul-smelling soil, and in serious cases, plant failure. A good drainage setup protects the palm from standing water while still allowing the soil to hold enough moisture for healthy growth.
Why Drainage Matters for Trough-Planted Palms
Palm roots need moisture, but they also need oxygen. In the ground, excess water can often move deeper into the soil. In a planter trough, however, water is limited by the container walls and base. If the trough has too few drainage holes, compacted soil, or no way for water to escape freely, the root zone can stay wet for too long.
This is especially risky in deep or narrow troughs, where water may collect at the bottom. Even drought-tolerant palms can suffer if their roots remain saturated. Drainage is not just about removing extra water; it is about creating a balanced root environment where air and moisture can both move properly.
Start with the Right Planter Trough
The best drainage setup begins with the trough itself. Choose a planter made from durable material, such as fiberglass, Corten steel, concrete, resin, or sealed wood, depending on your design style and climate. More important than the material is the presence of drainage holes.
A trough for palm trees should have multiple drainage holes along the bottom, not just one small hole in the center. Long planters need several exit points so water does not pool at one end. If the trough sits directly on a patio or deck, elevate it slightly with planter feet, risers, or discreet blocks. This creates space beneath the container so water can drain freely instead of becoming trapped underneath.

Build a Drainage Layer the Right Way
Many gardeners add gravel to the bottom of planters, but gravel alone does not solve drainage problems. In some cases, a thick gravel layer can actually reduce the usable root space and create a perched water zone above the gravel. Instead of relying only on rocks, focus on a complete drainage system.
For palm trees in troughs, start by covering drainage holes with mesh screen, landscape fabric, or broken pottery pieces. This keeps soil from washing out while still allowing water to pass through. Then, if the planter is very deep, you may add a modest layer of coarse material, such as expanded clay pebbles or lava rock, but keep it limited. The real work should be done by the soil mix and drainage holes.
A better approach is to use a free-draining palm mix throughout most of the trough. The soil should be loose, airy, and fast-draining, not dense or muddy.
Use a Palm-Friendly Soil Mix
The soil mix is the heart of the drainage setup. Standard garden soil is usually too heavy for planter troughs. It can compact quickly, hold too much moisture, and block airflow around the roots. Instead, choose a high-quality palm or cactus mix, or create a custom blend.
A strong container palm mix may include potting soil, coarse sand, perlite, pumice, pine bark fines, or coconut coir. The goal is to create structure: enough organic matter to hold moisture, but enough mineral and chunky material to let water move through.
When you water the trough, water should soak in, move through the soil, and drain from the bottom within a reasonable time. If water sits on the surface or the soil feels swampy days later, the mix is too dense.

Avoid the Saucer Trap
Decorative troughs are often placed with trays or saucers underneath to protect surfaces. While this can be useful indoors or on delicate flooring, standing water in a saucer can cause major root problems. If the bottom of the trough sits in collected water, the soil may wick moisture back upward, keeping roots wet.
For outdoor troughs, allow water to drain away completely. If you must use a saucer, empty it after watering or after heavy rain. For large fixed planters, consider adding a hidden drainage channel, gravel bed, or waterproof catchment system that directs water away from the root zone.
This is especially important on balconies and rooftops where drainage must be controlled. In those spaces, plan the water route before planting. The best setup protects both the palm and the structure underneath.
Position the Palm at the Right Depth
Drainage also depends on planting depth. Palm trees should not be buried too deeply. Set the root ball so the top sits slightly above or level with the surrounding soil. Burying the trunk base can trap moisture around sensitive tissue and increase the chance of rot.
After placing the palm, backfill gently with your soil mix. Do not pack the soil tightly. Firm it enough to support the plant, but leave the structure open so roots can breathe. Add a thin layer of mulch if desired, but keep mulch away from the trunk base.

Water Deeply, Then Let It Drain
A proper drainage setup works best with smart watering. Water deeply until excess moisture runs from the drainage holes. This ensures the entire root zone receives moisture and helps flush out built-up salts from fertilizer or tap water.
Then wait until the upper portion of the soil begins to dry before watering again. The exact timing depends on palm species, sun exposure, temperature, wind, and planter size. Palms in hot, sunny areas may need more frequent watering, while shaded troughs dry out more slowly.
Avoid watering on a fixed schedule without checking the soil. Use your finger, a moisture meter, or the weight of the planter if it is movable. The goal is not constantly wet soil, but evenly managed moisture.
Watch for Signs of Root Rot
Even with a good setup, it helps to know the warning signs. Yellowing lower fronds, wilting despite wet soil, blackened roots, sour-smelling soil, fungus gnats, or a soft trunk base can all suggest excess moisture. If caught early, you may be able to save the palm by improving airflow, reducing watering, replacing soggy soil, or checking that drainage holes are not blocked.
Prevention is far easier than rescue. Before planting, test the trough by pouring water into it and confirming that water exits freely. After planting, check drainage again during the first few watering.

Final Thoughts
Palm trees can look stunning in planter troughs, but their long-term health depends on what happens below the soil surface. A trough with multiple drainage holes, slight elevation, breathable soil, careful planting depth, and proper watering can prevent the damp conditions that lead to root rot.
Instead of thinking of drainage as an afterthought, treat it as the foundation of the entire planting design. When water can move freely and roots can access oxygen, palms are far more likely to grow strong, green, and graceful in their container home.


